Retouch4me
Fast portrait and skin retouching through AI-powered tools. Practical steps to decide if Retouch4me fits your workflow, pricing snapshot, key limits and setup tips.

Retouch4me is a set of automated retouching tools focused on portraits and skin work; choose it if you want consistent skin smoothing, frequency-separated texture work, and quick batch throughput with minimal manual masking. If you need full compositing, complex background moves, or local creative edits, plan to pair it with Photoshop or a retoucher. This guide uses public product pages and clear decision criteria to help you pick a provider.
Quick decision rule and who should pay
If you edit 20+ portrait images per session and want consistent, hands-off skin corrections, pick Retouch4me plugins or their online service; they prioritize speed and repeatable algorithms. If you need pixel-level cloning, background replacement, or heavy artistic stylization, hire a retoucher or use Photoshop instead.
How Retouch4me fits into a workflow
Choose product type – standalone plugin or online processing. The product pages list tools like Heal, Dodge&Burn, and Skin Tone on the products page.
Prepare files – export 16-bit TIFF or high-quality JPEG from your RAW processor; Retouch4me tools accept TIFF/JPEG and perform better with full-resolution files.
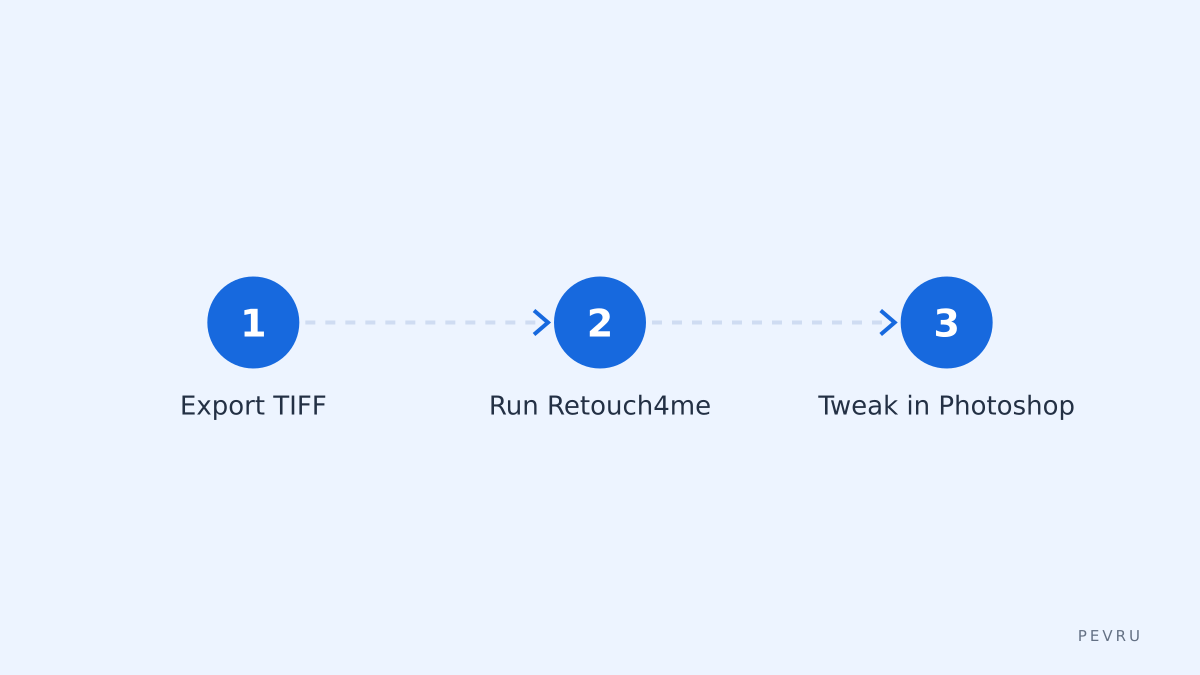
Batch vs single – for sessions, use the batch processing option in the plugin or the online batch upload to process folders. For unique creative fixes, export a TIFF, run the tool, then finalize touches in Photoshop.
Practical setup steps
Install or sign up: pick the plugin for your OS from the products list or use the online interface. The product page shows compatibility options and installers.
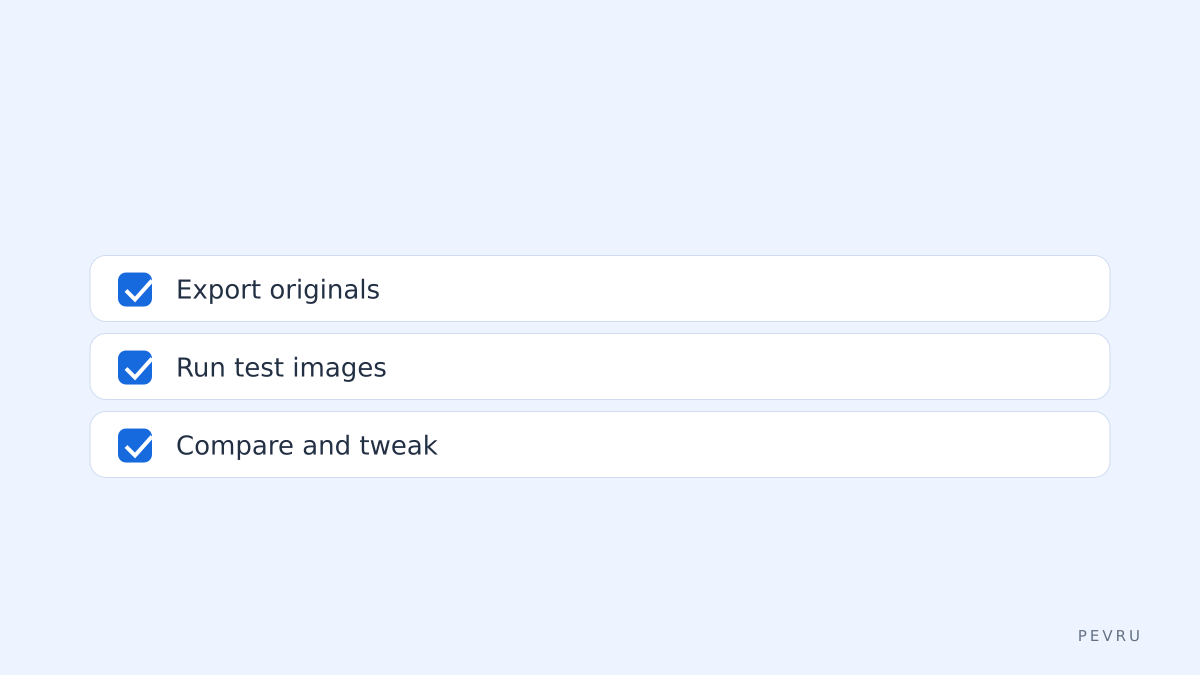
Test on a control image: pick one portrait with mid-tone skin and one with specular highlights; run Heal and Skin Tone tools and compare in a split view. Keep files for reference.
Default settings then tweak: start with default strength, then reduce strength by 10–30% if textures appear plastic. The tools expose strength sliders in the UI.
Batch pipeline: create a watched folder or script export from Lightroom/Capture One, run the Retouch4me batch, then import results back for color grade. The FAQ explains common automation setups.
Price snapshot and limits
The table below shows example pricing and limits from the vendor pages; confirm the live pricing before purchase.
Product / Plan | Typical price (USD) | Throughput / limits | Source |
|---|---|---|---|
Single plugin (per tool) | $29–$69 (one-time) | Per-image plugin, local processing | pricing page at the time of checking |
All tools bundle | $199 (one-time) | Local, unlimited images on your machine | pricing page at the time of checking |
Online credits | Variable, e.g., $0.60–$3.00 per image | Upload limit depends on plan; batch uploads supported | pricing page at the time of checking |
Free trials | Often available for single tools | Limited images or watermark on output | products page at the time of checking |
Decide by math: if your studio processes over 300 images yearly and you can run local tools, the bundle often pays back versus per-image online credits.
Common mistakes to avoid
Relying on defaults for every skin tone – lower strength for darker or very textured skin.
Processing heavy makeup or jewellery shots without spot checks – automated healing can remove highlights you want to keep.
Skipping a control file – always keep an original and processed pair to compare automated artifacts.
Assuming online batch equals full retouch – online tools handle consistent corrections; they do not replace manual local edits for composition changes.
One honest limitation and an alternative
Retouch4me excels at automated skin and texture work but does not replace fine manual compositing or creative dodging specific to fashion editorial; if you need that, consider hiring a portrait retoucher or using Adobe Photoshop for manual layered edits as an alternative.
Sources and final checklist
This guide is built from public product pages and explicit criteria: feature list, price structure, and automation options. Before you commit, run this quick checklist: pick one tool to trial, process 5 representative images, compare artifacts at 100% zoom, calculate per-image cost vs. bundle, and confirm export/import steps with your RAW processor. If the workflow passes those checks and you process portraits regularly, add Retouch4me to your toolkit; if you need heavy compositing, rely on Photoshop or a human retoucher instead.
Sources
- https://retouch4.me/pricing
- https://www.adobe.com/products/photoshop.html